Building Custom Widgets & Actions in Stac
In our last blog, we explore how Server-Driven UI frameworks like Stac empower developers to dynamically create, update, and manage app interfaces without pushing frequent code updates. While Stac provides a robust set of out-of-the-box widgets and actions to kickstart development, there are scenarios where you may need to implement custom widgets or actions to cater to specific business requirements or add unique features.
In this blog, we’ll explore the process of building custom widgets and actions in Stac, enabling you to extend its functionality and tailor it to your application’s needs.
Why Build Custom Widgets and Actions?
Stac’s standard library includes a variety of widgets like buttons, text, containers, and actions such as navigation or API calls. However, there are instances when you might require:
- Custom design elements that align with your brand’s identity.
- Integration with proprietary APIs or third-party libraries.
- Unique user interactions that are not covered by default widgets.
- Optimized components for specific use cases.
Creating custom widgets and actions allows you to maintain flexibility while keeping the power of server-driven UI intact.
Let’s Build a Counter App (SDUI Style!)
We’ll take a simple counter app and make it server-driven, controlling its UI and behavior from the backend.

Building Custom Widget
Step 1: Define the widget schema
The widget schema defines the structure of the custom widget. This schema is used to parse data from the server, including the properties you want to control dynamically from the server.
First, let’s create counter_screen.dart, where we’ll define the structure for our counter app.
import 'package:freezed_annotation/freezed_annotation.dart';
part 'counter_screen.freezed.dart';part 'counter_screen.g.dart';
@freezedclass CounterScreen with _$CounterScreen { const factory CounterScreen({ required String title, required String description, @Default(0) int initialCount, Map<String, dynamic>? onIncrement, Map<String, dynamic>? onDecrement, }) = _CounterScreen;
factory CounterScreen.fromJson(Map<String, dynamic> json) => _$CounterScreenFromJson(json);}Note: We’re using freezed to generate our data classes, but feel free to use any approach that works best for you.
Now that our data class is ready let’s build our widget parser class.
Step 2: Create the widget parser
To create a custom widget parser, we’ll create CounterScreenParser, which extends StacParser<CounterScreen>. This abstract class provides three essential methods:
type: Identifies the widget type in the JSON object.getModel: Parses the JSON data into a Dart object.parse: Builds the custom widget using the provided model.
import 'package:counter_example/counter/widgets/counter_screen.dart';import 'package:flutter/material.dart';import 'package:stac/stac.dart';
class CounterScreenParser extends StacParser<CounterScreen> { const CounterScreenParser();
@override String get type => 'counterScreen';
@override CounterScreen getModel(Map<String, dynamic> json) => CounterScreen.fromJson(json);
@override Widget parse(BuildContext context, CounterScreen model) { return Scaffold(...); }}As you can see, we’ve set the type to “counterScreen” and defined getModel as CounterScreen.fromJson(json). Now, let’s implement the widget in the parse method.
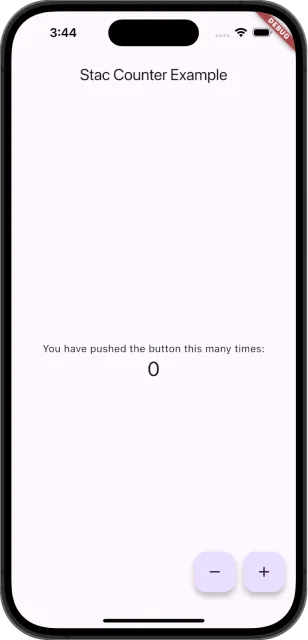
@override Widget parse(BuildContext context, CounterScreen model) { return Scaffold( appBar: AppBar( title: Text(model.title), ), body: Center( child: Column( mainAxisAlignment: MainAxisAlignment.center, children: [ Text(model.description), Text( model.initialCount.toString(), style: Theme.of(context).textTheme.headlineMedium, ), ], ), ), floatingActionButton: Row( mainAxisSize: MainAxisSize.min, children: [ FloatingActionButton( onPressed: () {}, tooltip: 'Decrement', child: const Icon(Icons.remove), ), SizedBox(width: 12), FloatingActionButton( onPressed: () {}, tooltip: 'Increment', child: const Icon(Icons.add), ), ], ), ); }As you can see, it’s the familiar Flutter counter app screen, but instead of hardcoded values in the Text widget, we’re using model.title, model.description, and model.initialCount.
Step 3: Register the CounterScreenParser
Finally, you need to register the custom parser with Stac so that it can be used to interpret JSON objects. You can register the parser when initializing Stac by passing it in the parsers parameter.
void main() async { await Stac.initialize( parsers: [ CounterScreenParser(), ], );
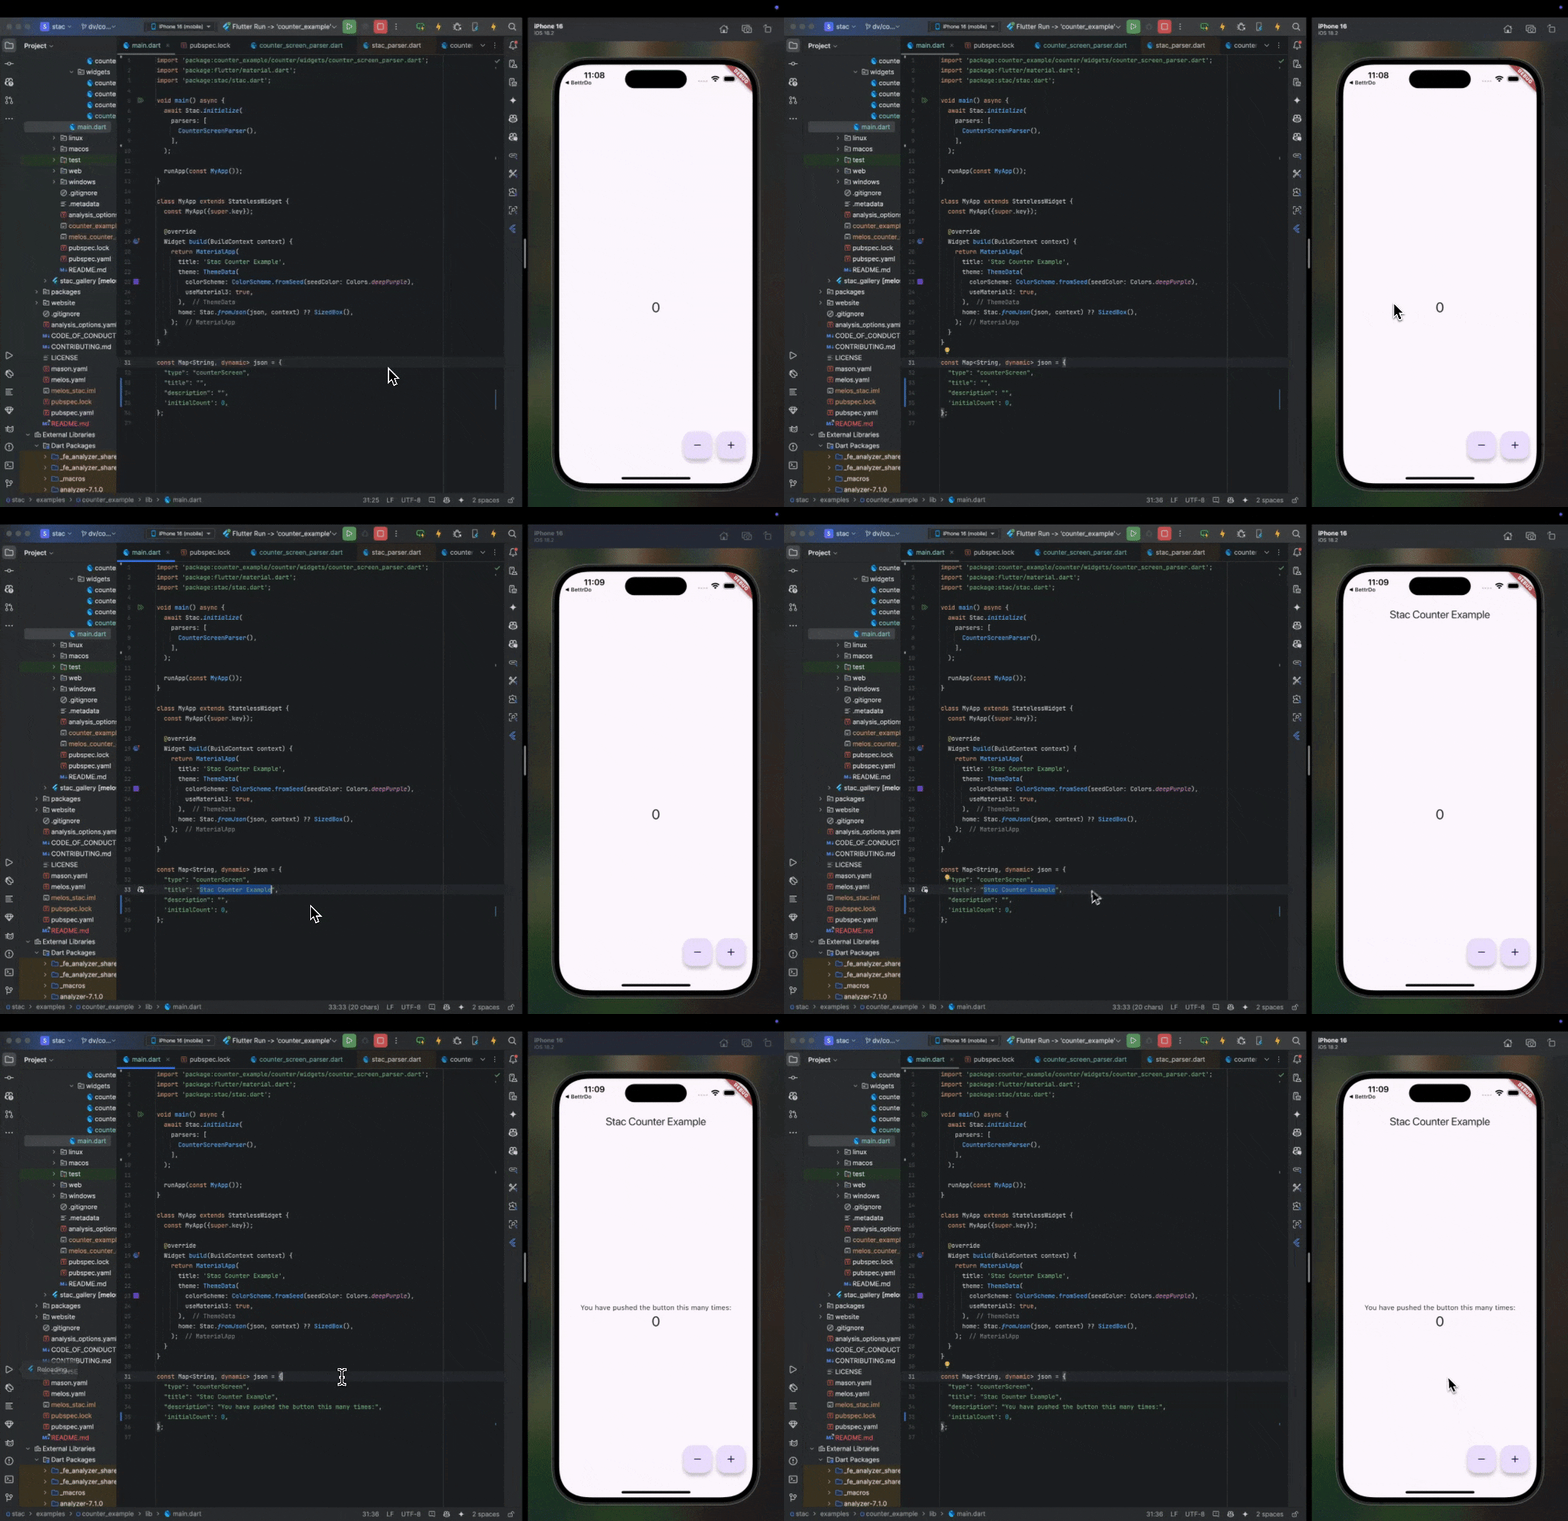
runApp(const MyApp());}That’s it. And finally, our JSON to render the CounterScreen will look like this.
{ "type": "counterScreen", "title": "Stac Counter Example", "description": "You have pushed the button this many times:", "initialCount": 110}To render the JSON into a widget use Stac.fromJson method. To know other ways to render check out our last blog post. Finally, our main.dart will look like this.
import 'package:counter_example/counter/widgets/counter_screen_parser.dart';import 'package:flutter/material.dart';import 'package:stac/stac.dart';
void main() async { await Stac.initialize( parsers: [ CounterScreenParser(), ], );
runApp(const MyApp());}
class MyApp extends StatelessWidget { const MyApp({super.key});
@override Widget build(BuildContext context) { return MaterialApp( title: 'Stac Counter Example', theme: ThemeData( colorScheme: ColorScheme.fromSeed(seedColor: Colors.deepPurple), useMaterial3: true, ), home: Stac.fromJson(json, context) ?? SizedBox(), ); }}Our Server-Driven UI counter app is ready. But guess what nothing happens when we click on the buttons.

Let’s dive into implementing a Custom Action that includes custom business logic and interacts with the widget’s state.
Building Custom Actions
Building custom actions is quite similar to building custom widgets.
Step 1: Define the Action Schema
Let’s create counter_action.dart to define the action structure.
import 'package:freezed_annotation/freezed_annotation.dart';
part 'counter_action.freezed.dart';part 'counter_action.g.dart';
enum CounterActionType { increment, decrement,}
@freezedclass CounterAction with _$CounterAction { const factory CounterAction({ required CounterActionType counterActionType, @Default(1) int delta, }) = _CounterAction;
factory CounterAction.fromJson(Map<String, dynamic> json) => _$CounterActionFromJson(json);}Step 2: Create the action parser.
To create a custom action parser let’s create a CounterActionParser class that extends StacActionParser<CounterAction>. Just like StacParser, StacActionParser is an abstract class that provides 3 methods.
actionType: Takes a string used to identify the type of the action in the JSON object.getModel: Takes a fromJson method to parse the JSON data to the dart object.onCall: The onCall method lets you define your custom action using the provided model.
import 'dart:async';
import 'package:counter_example/counter/cubit/counter_cubit.dart';import 'package:flutter/src/widgets/framework.dart';import 'package:flutter_bloc/flutter_bloc.dart';import 'package:stac/stac.dart';
import 'counter_action.dart';
class CounterActionParser extends StacActionParser<CounterAction> { const CounterActionParser();
@override String get actionType => 'counterAction';
@override CounterAction getModel(Map<String, dynamic> json) => CounterAction.fromJson(json);
@override FutureOr onCall(BuildContext context, CounterAction model) { switch (model.counterActionType) { case CounterActionType.increment: context.read<CounterCubit>().increment(model.delta); break; case CounterActionType.decrement: context.read<CounterCubit>().decrement(model.delta); break; } }}In this action, depending upon the counterActionType we are calling the CounterCubit to either increment or decrement the counter.
Here is what the counter_cubit.dart looks like.
import 'package:flutter_bloc/flutter_bloc.dart';
class CounterCubit extends Cubit<int> { CounterCubit(int? initialCount) : super(initialCount ?? 0);
void increment(int value) => emit(state + value); void decrement(int value) => emit(state - value);}Now, let’s wrap our Counter Text widget with BlocBuilder so it updates the count on button click.
BlocBuilder<CounterCubit, int>( builder: (context, count) => Text( '$count', style: Theme.of(context).textTheme.headlineMedium, ),),To trigger a StacAction on button click, use the Stac.onCallFromJson method. Here’s the updated code for our Floating Action Buttons:
FloatingActionButton( onPressed: () => Stac.onCallFromJson(model.onDecrement, context), // ...),FloatingActionButton( onPressed: () => Stac.onCallFromJson(model.onIncrement, context), // ...),Finally here is what our counter_screen_parser looks like.
import 'package:counter_example/counter/cubit/counter_cubit.dart';import 'package:counter_example/counter/widgets/counter_screen.dart';import 'package:flutter/material.dart';import 'package:flutter_bloc/flutter_bloc.dart';import 'package:stac/stac.dart';
class CounterScreenParser extends StacParser<CounterScreen> { const CounterScreenParser();
@override String get type => 'counterScreen';
@override CounterScreen getModel(Map<String, dynamic> json) => CounterScreen.fromJson(json);
@override Widget parse(BuildContext context, CounterScreen model) { return BlocProvider( create: (_) => CounterCubit(model.initialCount), child: Builder( builder: (context) { return Scaffold( appBar: AppBar( title: Text(model.title), ), body: Center( child: Column( mainAxisAlignment: MainAxisAlignment.center, children: [ Text(model.description), BlocBuilder<CounterCubit, int>( builder: (context, count) => Text( '$count', style: Theme.of(context).textTheme.headlineMedium, ), ), ], ), ), floatingActionButton: Row( mainAxisSize: MainAxisSize.min, children: [ FloatingActionButton( onPressed: () => Stac.onCallFromJson(model.onDecrement, context), tooltip: 'Decrement', child: const Icon(Icons.remove), ), SizedBox(width: 12), FloatingActionButton( onPressed: () => Stac.onCallFromJson(model.onIncrement, context), tooltip: 'Increment', child: const Icon(Icons.add), ), ], ), ); }, ), ); }}Step 3: Register the CounterActionParser
Finally, we need to register the CounterActionParser in Stac initialize, by passing it in the actionParsers parameter.
void main() async { await Stac.initialize( parsers: [CounterScreenParser()], actionParsers: [CounterActionParser()], );
runApp(const MyApp());}That’s it. Here’s the JSON structure to render the CounterScreen.
{ "type": "counterScreen", "title": "Stac Counter Example", "description": "You have pushed the button this many times:", "onIncrement": { "actionType": "counterAction", "counterActionType": "increment", "delta": 1, }, "onDecrement": { "actionType": "counterAction", "counterActionType": "decrement", "delta": 2, }}If you take a closer look, you’ll see that the counter increases by 1 but decreases by 2 as defined in our delta.
Explore the complete source code here 👇
Conclusion
Custom widgets and actions are at the heart of Stac’s powerful server-driven UI framework, giving you the flexibility and efficiency to build truly dynamic applications. Ready to experience it firsthand? Explore the Stac ecosystem: browse the Stac framework on GitHub, get started with our detailed docs, and experiment with live UIs in the Stac Playground. We’re excited to see what you create! Stay tuned for more in-depth blog posts covering advanced features, best practices, and real-world use cases.
